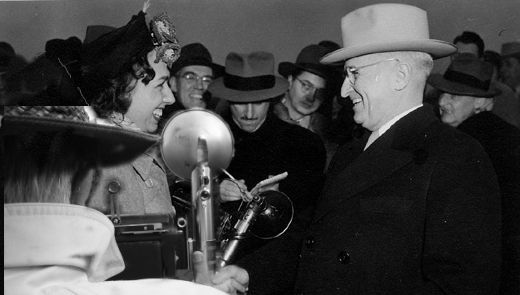
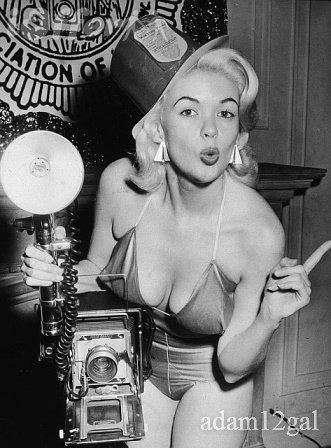
Imagine a documentary from the 50s and 60s, or paparazzi chasing stars. Or a hectic and intrusive press conference with dozens of smoking journalists who have only one thing in common: a Graflex to shoot the picture for the front page of the newspaper or magazine. Welcome to the amazing world of the large format.
From the outside it does not seem that the makers spent much thought about the design, only looked at the functionality, but after opening and further study the soul of the camera comes to life. A camera you can easily write a book about, from it’s technical aspects to it’s aesthetic value. A camera that still has thousands of admirers worldwide today. But that devotion requires a steep learning curve, because the Graflex is a complicated machine.
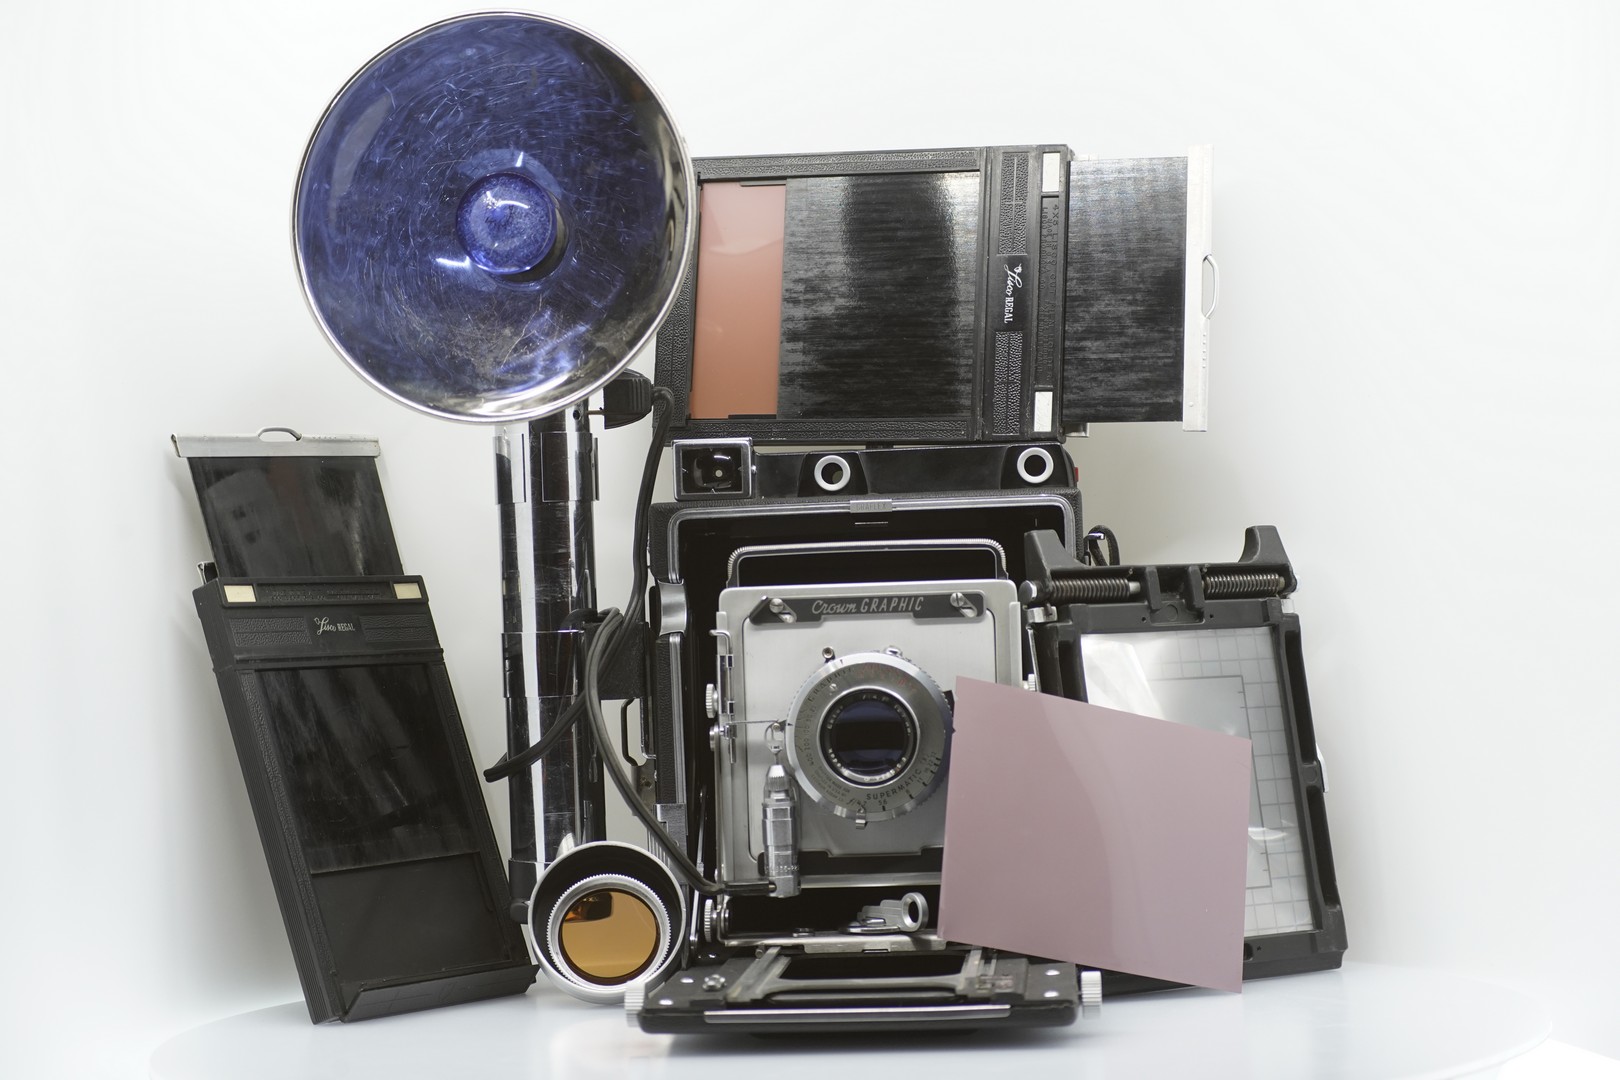
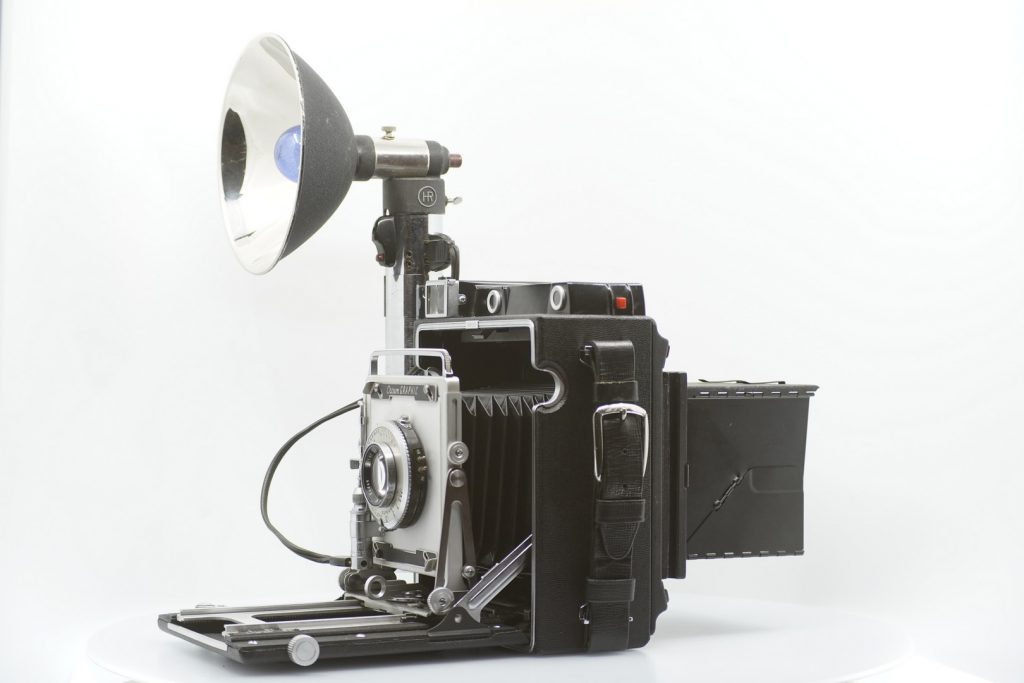
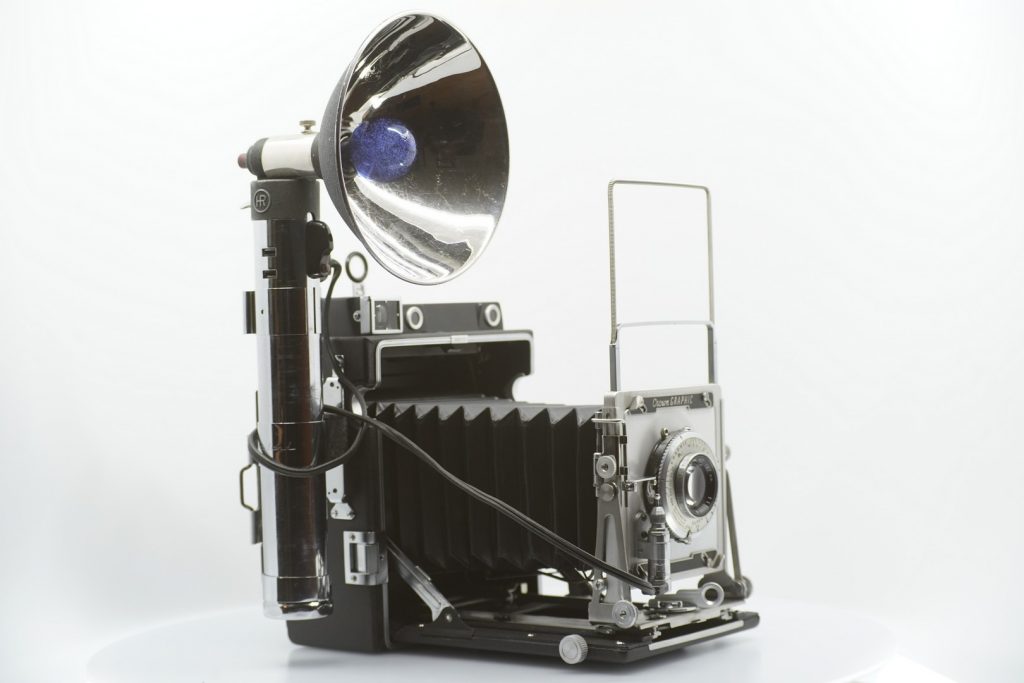
I must say that I immediately fell in love with this Graflex Pacemaker Crown from 1964. There are really a lot of models (with the Graflex Pacemaker Speed probably the most popular and certainly most advanced). This Crown with its black leather housing, the chrome interior with a Kodak lens from 1947 in the heart of the white lens board. A Heiland “Star Wars Saber” flash on the side with a working Sylvania Press 25 black and white flash bulb. A dream from the past, but how the hell does all that work? The answer is with a lot of patience, curiosity, and a lot of surfing the internet. Fortunately, fans can be found quickly, fans who have taken the trouble to fill complete websites with all aspects of the operation and use of the camera.
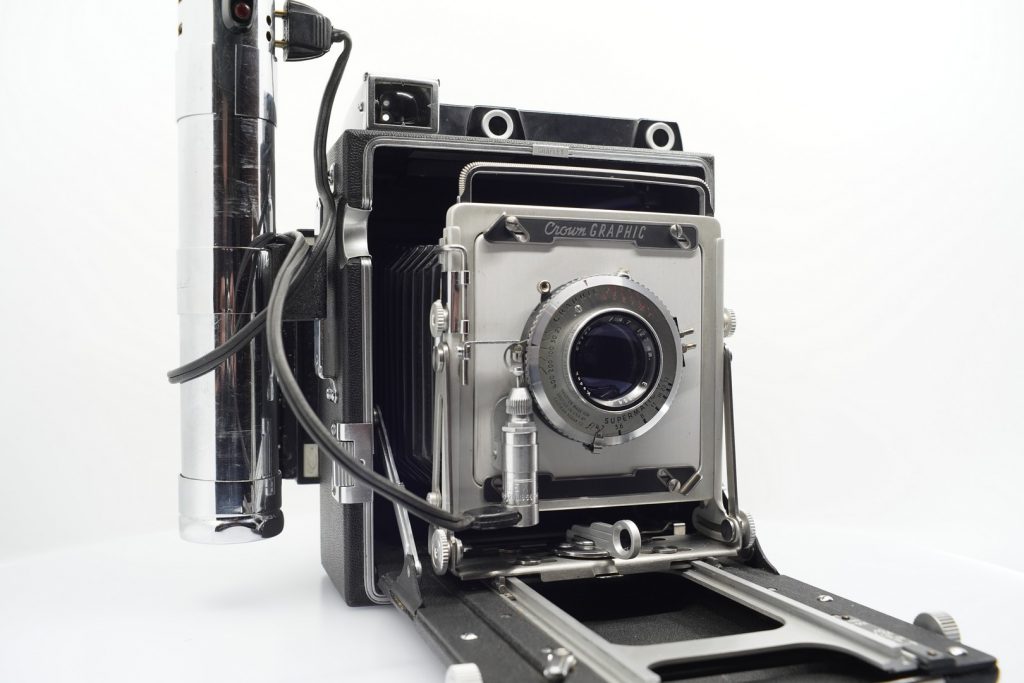
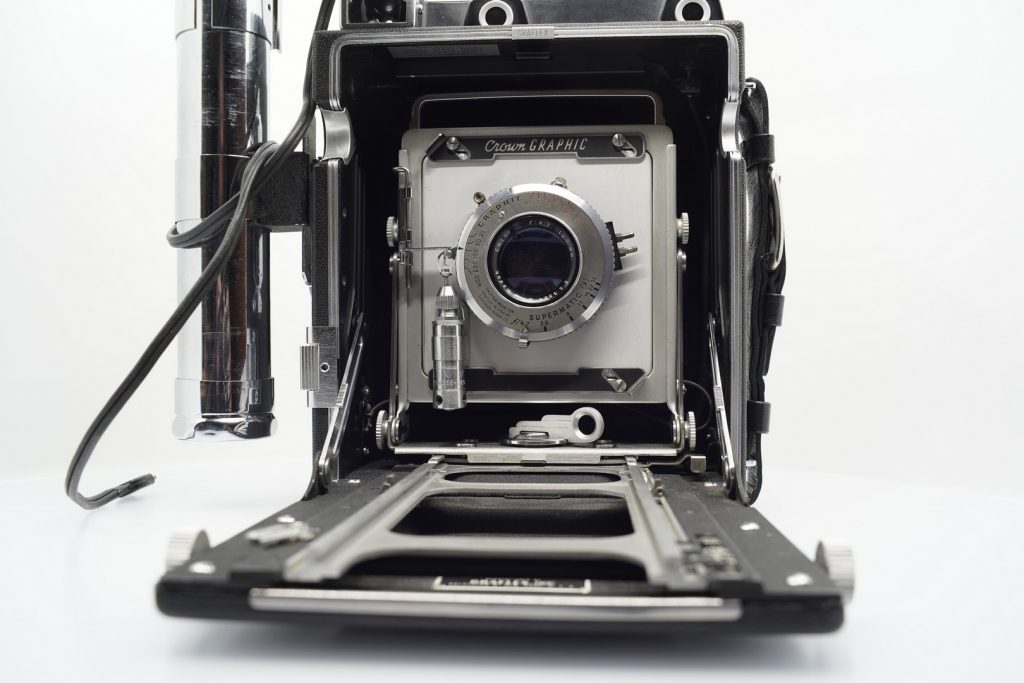
Where to start? With the secret, invisible button located in the center under the leather to open the front camera body. The lid opens 90 degrees but can be lowered even further when using wide-angle lenses. Then the middle lever must be unlocked to slide the bellows and lens out of the housing. These stop at the so-called ‘infinity’ markers, two tiny metal slides that are fixed on the rails. Depending on the lens used, the focal length for infinity must always be adjusted. Now the bellows and lens have to be locked again and the focal distance scale on the front left of the lid serves as a reference for the distances. With that you focus, by turning the wheels on both sides. You can see the bellows extend further from infinity to distances closer to around 6 feet (1.80 meter). This replaces the normal turning of the focus ring of a modern lens.
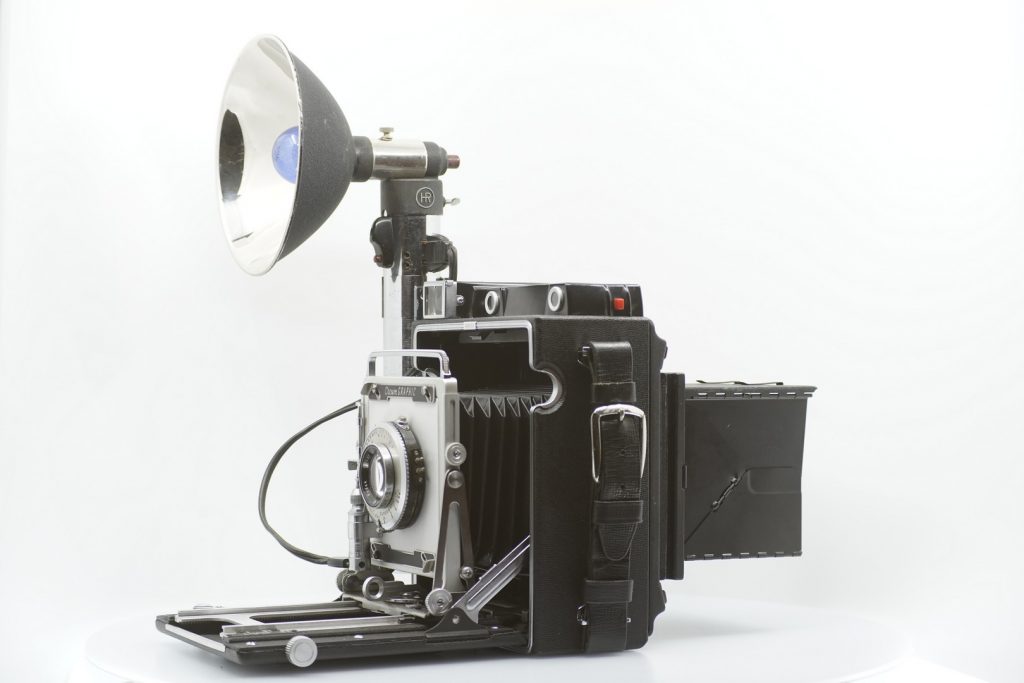
To add a bit complexity: the lensboard (where the lens is attached to), can be raised and upwards tilted by little knobs sideways the board. If you use this ‘angling’ feature the lens plane and the plane of focus remains parallel to the film but the effect is like picking out areas of a larger negative. This “perspective control” is useful because you can avoid the geometric distortions of pointing the whole camera up/down/sideways. But be aware of the coverage potential of the lens, when ‘moving around’ with the tilt or raise. The lens (and board) can be easily changed. Two sliders above and below the board make this easy. But it is not only changing the lens, but the entire board and the shutter! Fortunately there is a wide range of wide-angle, standard and telephoto lenses available on ready-to-use boards with lens & shutter. That brings us to the right ‘crop factor’ of large format lenses. We normally take 35 mm ‘full frame’ as a reference. Similar to an APS sensor on a digital camera we use a crop factor relative to this 35 mm. Received wisdom has it that the conversion factor from 35mm to large format (5×4) is 3/4x. As an example, this Graflex has a 127 mm focal length, converted to the 35 mm reference that would be equal to 35-40 mm wide angle. So if you want a more telelens, you have to think about getting a lens of 300mm. For a wilde angle lens, the bed will have to be dropped. The 4×5 Crown’s minimum extension is 52.4 mm. Lenses with flange-focal distances > 52.4 mm will focus to infinity on a 4×5 Crown. Because the Crown’s inner and outer bed rails are linked, focusing lenses that make infinity with the standard on the inner rails is easy (thanks to Dan Fromm for this info).
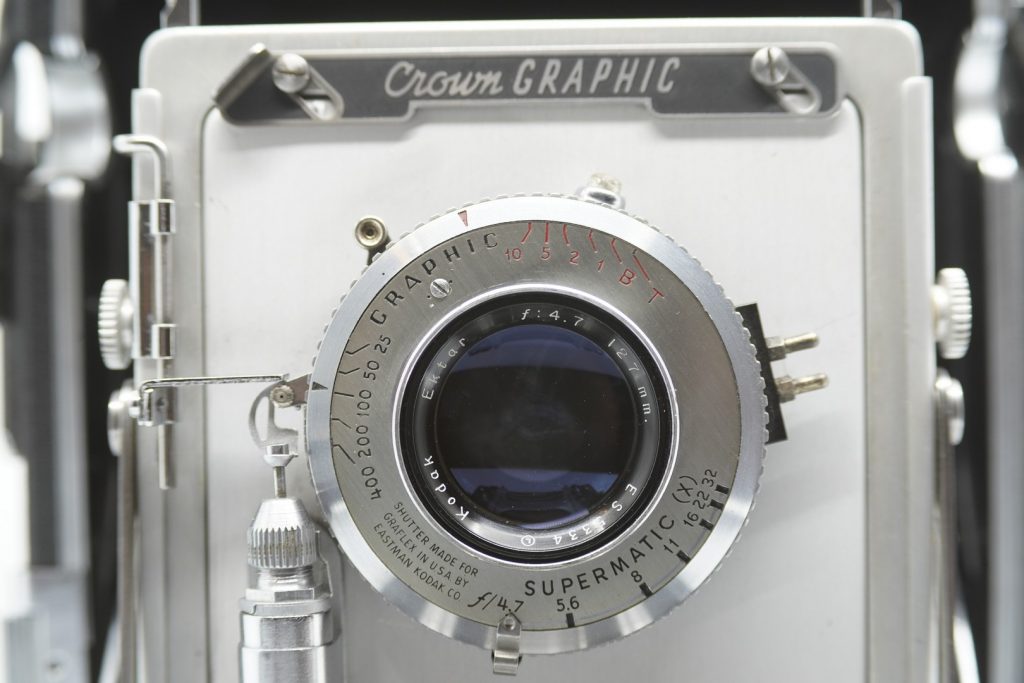
The Kodak Ektar lens has apertures ranging from f 4.7 to f 32 and shutter speeds from B(ulb) and T(ime) up to 1/400s. On the right the bi-contacts for an external flash. You cock the shutter manually and it can be released by pushing the shutter lever down, by a connected extra trigger on the side of the camera, by remote cable or by flash through the attached solenoid. The little knob on top can have two functions, depending on your specific model. It either works as a delay / self timer, but in most cases pushed and simultaneously cocking and releasing the shutter it keeps the aperture open. This function is needed when using the ground glass for focussing. But holding it down and cocking same time the shutter, sets the internal synchronizer for a flash. The flash will then fire when the aperture is wide open. Things get even more interesting now!

At least as much adventure takes place on the back than on the front of the Graflex. First, the sun visor opens via a metal lever for focusing through the ground glass. This changeable ground glass is a frosted glass that allows you to look through the lens and focus. For that, the aperture has to be open completely (that’s the function we just described as the middle button on the shutter ring). The photo shows a special 6×7 ground glass made for Graflex’s own filmsheets, a format that was very popular in the 1960s. But the full frame is the 4×5 (inch) large format, often mentioned in one breath with 9×12 (cm), although the sizes do differ and both have their own film sheet holders! Talking about film sheets, in large format there are no longer rolls, but (negative) sheets. Photo rolls come in sheets, usually packed in 10 pieces in color or black and white and different ISO. Each negative has to be placed carefully (in a darkroom or developing bag) in a 4×5 holder for a total of two sheets, one left and one right. A thin aluminium sheet will then be slided over the negative to keep the light out and will later be taken out to actually make the picture and expose the negative. So if you want to shoot e.g. six photos, you need 3 sheet holders to prepare in the dark room and take them with you.
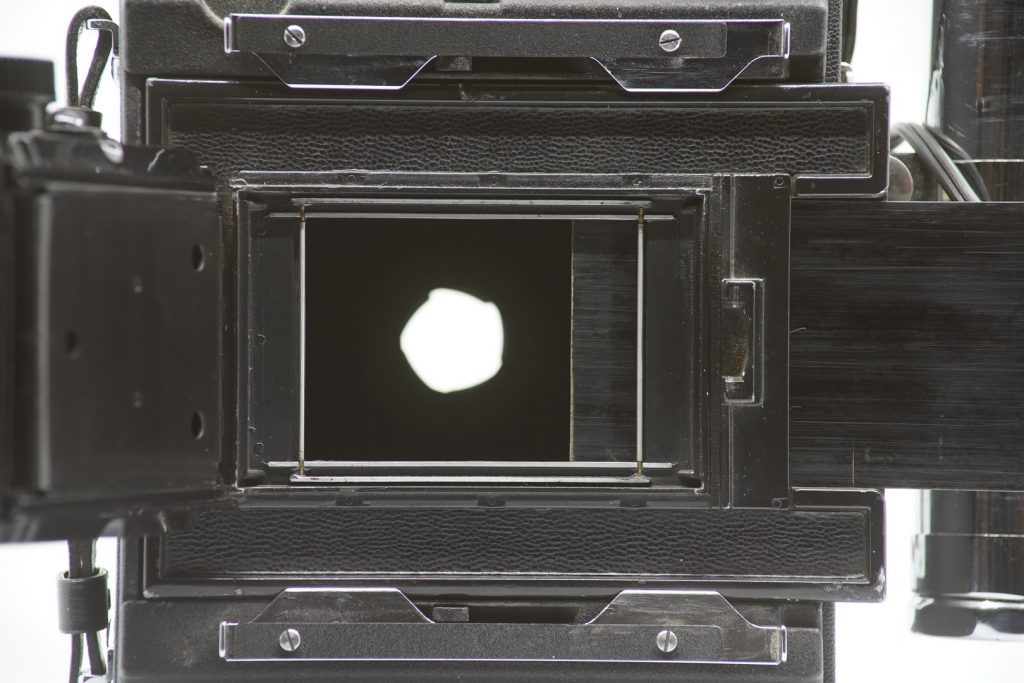
The photo shows the original Graflex ’23’ back with which you can shoot eight ‘6×9’ photos (2.25″ x 3.25″) on 120 medium format rolls. You put in a roll of film and you can wind forward with this special back like with a any ‘normal’ camera. Also here a thin sheet keeps the film save for exposing to light. Ready to take pictures? Set shutter speed and aperture on the lens. Look through the ground glass and focus with moving bellows and lens. Or use the distance indicator or … the rangefinder! So there is a third way to focus. The Graflex has a built-in rangefinder in which a parallax image is projected through the small viewfinder at the top of the camera. By sliding the bellows and lens, the two images are projected exactly over each other, so that the sharpness is optimal. Earlier Crowns have a Kalart (usually) RF on the side or no RF at all. Finally, the composition and the visible 4×5 recording area can be checked by the bright viewfinder at the top right of the camera or with the simple, but cute extendable eyepiece in the middle of the back. Fun factor: the rangefinder is illuminated by the red button and transmits two color patterns on the subject in the dark. When these light patterns overlap, you also know in the dark that the focus is sharp.

We still haven’t taken a picture … So, again, when everything is set up, slide the complete sheet holder behind the ground glass. With a very clearly audible click (and some force) it is quickly in place. Now remove the aluminum sheet, check focus again and release the shutter. Slide the aluminium sheet reversed (with the black tab side up) back into the holder so that you know that it has been exposed! Now you can use the second filmsheet in the holder. You can of course also mark and number these tabs by yourself. The holders are easily available, from Graflex, Linhof or Lisko Regal, but make sure you use 4×5 (and not 9×12).
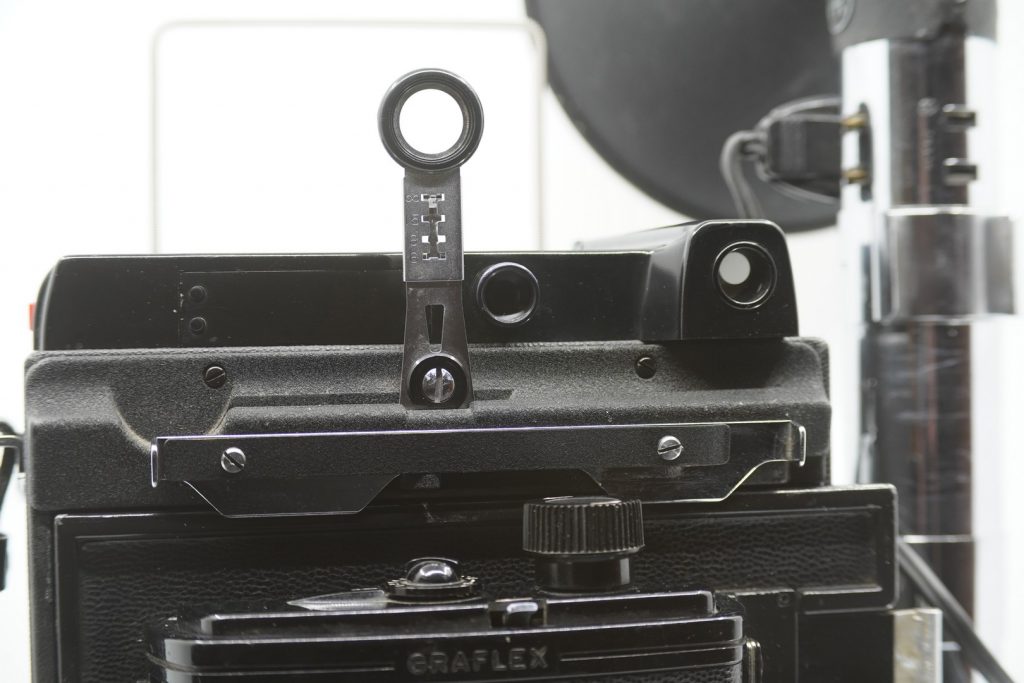
Focusing with the ground glass is also best done by using a black cloth over your head and a special loupe (like a E-tone 6x), so that you can finely assess all the sharpness in your photo. Many accessories are available for the Graflex, from interchangeable lenses and lens boards, ground glasses, backs and of course … flashes! The most used and well-known are the Graflex Flash and Heiland, but both are far more popular for their battery holder than as flash. In the first Star Wars movies, the big iron battery holder served as the famous laser saber and has been a sought-after gadget ever since. The flash is connected to the lens or solenoid. Here the lens has a bi-connection for X-sync or via two small plug contacts on the solenoid. The flash takes than care of the (cocked!) shutter. This Graflex shows a Heiland 3 flash unit that uses (still easy available) Press 25 bulbs and is charged by 3x common D batteries. Prefer to work with an electronic flash? Yes you can, but by using the right cables between the flash and the camera. Take a good look at the possible connections and whether the lens has flash synchronization! The American company Paramount cables tailor-make the required cables and connections for the Graflex. But also remember that 4×5 requires a strong flash to illuminate the entire area. And why not work with the old bulbs? Many claim that the light from the old flash contains much more color space and the flash results are therefore less harsh and more beautiful.
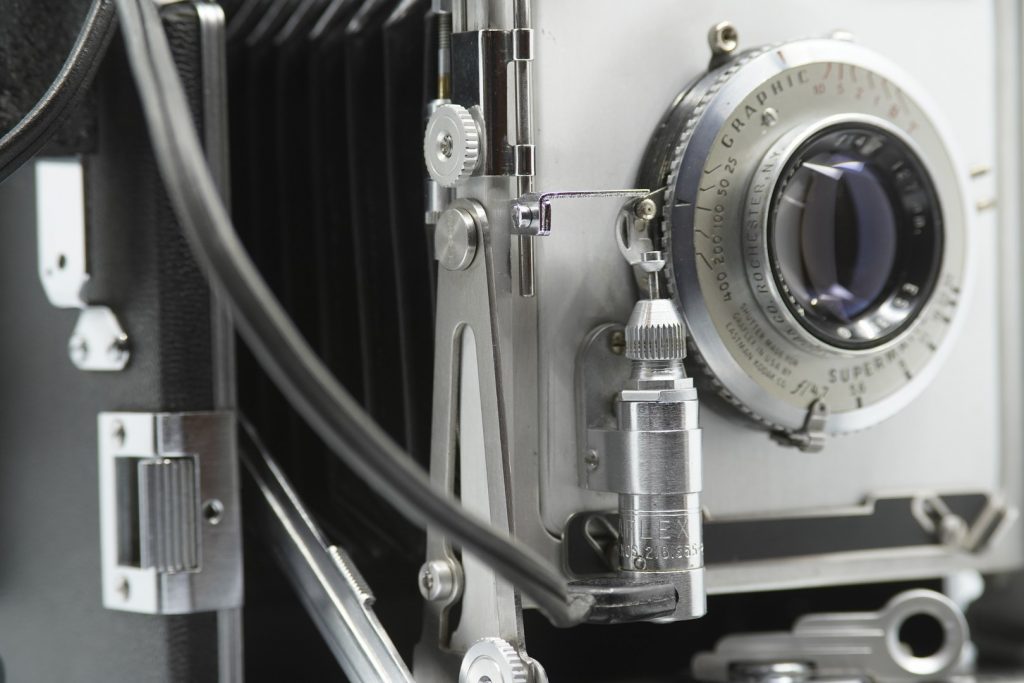
If you really want to build a lens collection for the Graflex Pacemaker Crown, keep in mind that for each lens the infinity screws must be realigned and the distance scale no longer indicates the correct values. This it easily solved by marking one piece of taping with the new distances. In any case, for a adjustment of the rangefinder on the lens you need a so-called ‘cam’, a small metal plate that ‘knows’ the focal length of the lens and must be attached in the rangefinder housing (top metal box inside the camera). How to do? Better look here (because I searched the web also for many days…). So there is a separate ‘cam’ for each lens. You can find all the cams for different lenses listed here! From there your search on eBay can begin.

If, like me, you have become enthusiastic about a large format camera like this great Graflex Pacemaker Crown, there are still some questions about shooting in 2020 with this camera. The Graflex is especially available in the US, on eBay in Europe it is already a lot more difficult. More likely to find one on Catawiki with some patience (in my case thanks to a famous and reliable Graflex seller ‘Jacky050765’). There are (very) many models, this is one of the simplest (yeah, what’s in a name). More popular, but also more advanced, is the Graflex Speed Graphic with its own shutter (curtain) in the camera up to 1 / 1000s. And make sure you have a sturdy tripod and a cheap to find classic release cable. That’s the best way to guarantee sharp pictures and handling the heavy camera any way.
Furthermore, you can easily obtain 4×5 sheets. Fomapan black and white is the cheapest and very good. Packed with 50 sheets of ISO 100 you pay about Euro 40 in Europe. Color negatives are considerably more expensive, count on Euro 8 per sheet for the good Kodak Portra 160! Having sheets developed is cumbersome, because you have to send the entire holders to a development lab. Smarter and much cheaper to take the adventure yourself to develop 4×5 sheets yourself. You don’t need a darkroom (unless you want to print your own photos). Loading and unloading negatives in sheet holders and development tanks (in total darkness) only requires a development bag and some dexterity. There are 4×5 tanks (Jobo) and associated chemicals for developing b/w and color, so that you can quickly and properly develop your own negatives. Later you can scan them or have them printed. Yes, for example, the Epson V7 and V8 photo series can scan 4×5 negatives.
We have come to the end of this long review. Maybe I still forgot some aspects in my enthusiasm, I count on critical readers to correct me or fill in the blanks. Please do so, also we can keep the memory alive of this splendid camera. Here some pictures, not made by me, but the ones that stand for the historic value of a Graflex!
Much thanks for the inspirational resources of:
(version 01, May 2020)

